Using cog on Windows 11 with WSL 2#
- 0. Prerequisites
- 1. Install the GPU driver
- 2. Unlocking features
- 2.1. Unlock WSL2
- 2.2. Unlock virtualization
- 2.3. Reboot
- 3. Update MS Linux kernel
- 4. Configure WSL 2
- 5. Configure CUDA WSL-Ubuntu Toolkit
- 6. Install Docker
- 7. Install
cogand pull an image - 8. Run a model in WSL 2
- 9. References
Running cog on Windows is now possible thanks to WSL 2. Follow this guide to enable WSL 2 and GPU passthrough on Windows 11.
Windows 10 is not officially supported, as you need to be on an insider build in order to use GPU passthrough.
0. Prerequisites#
Before beginning installation, make sure you have:
- Windows 11.
- NVIDIA GPU.
- RTX 2000/3000 series
- Kesler/Tesla/Volta/Ampere series
- Other configurations are not guaranteed to work.
1. Install the GPU driver#
Per NVIDIA, the first order of business is to install the latest Game Ready drivers for your NVIDIA GPU.
https://www.nvidia.com/download/index.aspx
I have an NVIDIA RTX 2070 Super, so filled out the form as such:
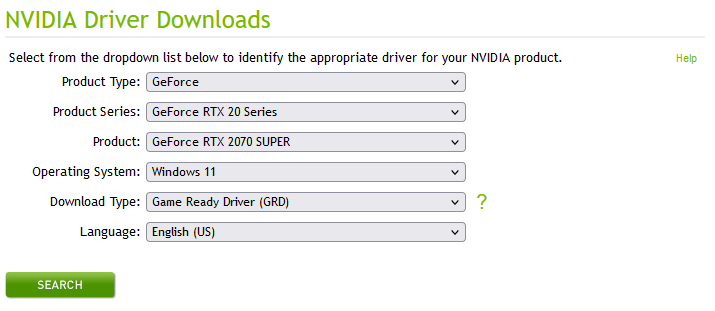
Click "search", and follow the dialogue to download and install the driver.
Restart your computer once the driver has finished installation.
2. Unlocking features#
Open Windows Terminal as an administrator.
- Use start to search for "Terminal"
- Right click -> Run as administrator...
Run the following powershell command to enable the Windows Subsystem for Linux and Virtual Machine Platform capabilities.
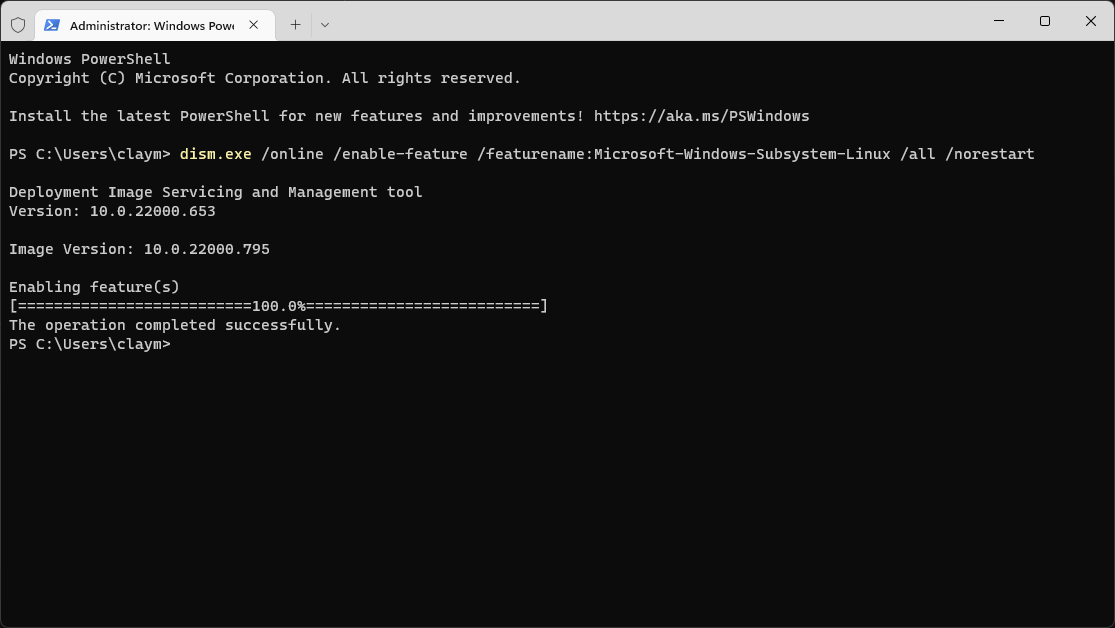
2.1. Unlock WSL2#
dism.exe /online /enable-feature /featurename:Microsoft-Windows-Subsystem-Linux /all /norestart
If you see an error about permissions, make sure the terminal you are using is run as an administrator and that you have an account with administrator-level privileges.
2.2. Unlock virtualization#
dism.exe /online /enable-feature /featurename:VirtualMachinePlatform /all /norestart
If this command fails, make sure to enable virtualization capabilities in your computer's BIOS/UEFI. A successful output will print The operation completed successfully.
2.3. Reboot#
Before moving forward, make sure you reboot your computer so that Windows 11 will have WSL2 and virtualization available to it.
3. Update MS Linux kernel#
Download and run the WSL2 Linux kernel update package for x64 machines msi installer. When prompted for elevated permissions, click 'yes' to approve the installation.
To ensure you are using the correct WSL kernel, open Windows Terminal as an administrator and enter:
wsl cat /proc/version
This will return a complicated string such as:
Linux version 5.10.102.1-microsoft-standard-WSL2 (oe-user@oe-host) (x86_64-msft-linux-gcc (GCC) 9.3.0, GNU ld (GNU Binutils) 2.34.0.20200220)
The version we are interested in is Linux version 5.10.102.1. At this point, you should have updated your kernel to be at least Linux version 5.10.43.3.
If you can't get the correct kernel version to show:
Open Settings → Windows Update → Advanced options and ensure Receive updates for other Microsoft products is enabled. Then go to Windows Update again and click Check for updates.
4. Configure WSL 2#
First, configure Windows to use the virtualization-based version of WSL (version 2) by default. In a Windows Terminal with administrator privileges, type the following:
wsl --set-default-version 2
Now, you will need to go to the Microsoft Store and Download Ubuntu 18.04
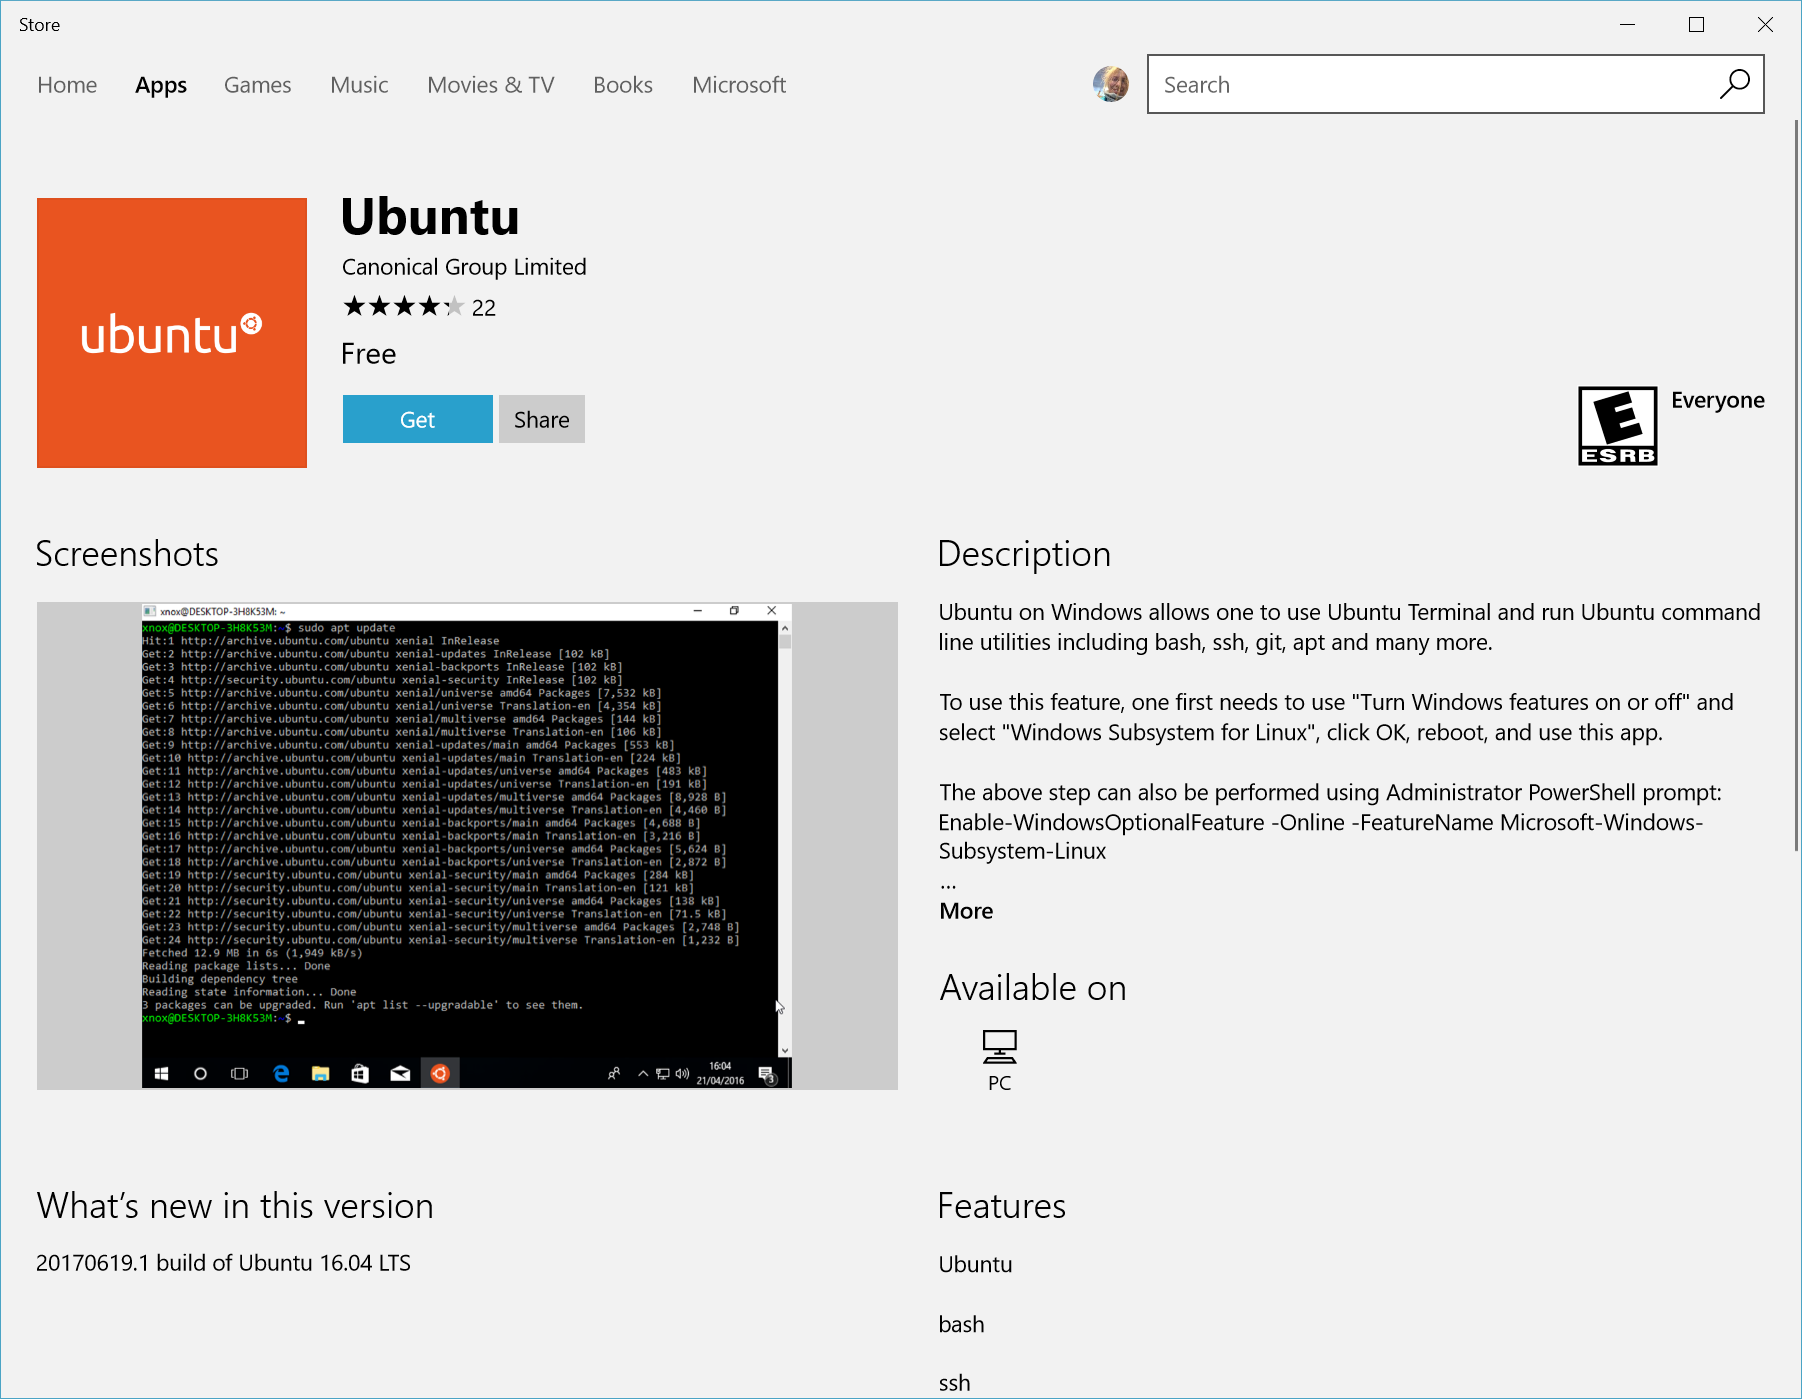
Launch the "Ubuntu" app available in your Start Menu. Linux will require its own user account and password, which you will need to enter now:

5. Configure CUDA WSL-Ubuntu Toolkit#
By default, a shimmed version of the CUDA tooling is provided by your Windows GPU drivers.
Important: you should never use instructions for installing CUDA-toolkit in a generic linux fashion. in WSL 2, you always want to use the provided CUDA Toolkit using WSL-Ubuntu Package.
First, open PowerShell or Windows Command Prompt in administrator mode by right-clicking and selecting "Run as administrator". Then enter the following command:
wsl.exe
This should drop you into your running linux VM. Now you can run the following bash commands to install the correct version of cuda-toolkit for WSL-Ubuntu. Note that the version of CUDA used below may not be the version of CUDA your GPU supports.
sudo apt-key del 7fa2af80 # if this line fails, you may remove it.
wget https://developer.download.nvidia.com/compute/cuda/repos/wsl-ubuntu/x86_64/cuda-wsl-ubuntu.pin
sudo mv cuda-wsl-ubuntu.pin /etc/apt/preferences.d/cuda-repository-pin-600
wget https://developer.download.nvidia.com/compute/cuda/11.7.0/local_installers/cuda-repo-wsl-ubuntu-11-7-local_11.7.0-1_amd64.deb
sudo dpkg -i cuda-repo-wsl-ubuntu-11-7-local_11.7.0-1_amd64.deb
sudo cp /var/cuda-repo-wsl-ubuntu-11-7-local/cuda-B81839D3-keyring.gpg /usr/share/keyrings/
sudo apt-get update
sudo apt-get -y install cuda-toolkit-11-7
6. Install Docker#
Download and install Docker Desktop for Windows. It has WSL 2 support built in by default.
Once installed, run Docker Desktop, you can ignore the first-run tutorial. Go to Settings → General and ensure Use the WSL 2 based engine has a checkmark next to it. Click Apply & Restart.

Reboot your computer one more time.
7. Install cog and pull an image#
Open Windows Terminal and enter your WSL 2 VM:
wsl.exe
Download and install cog inside the VM by following the Linux install instructions in the README.
Make sure it's available by typing:
which cog # should output /usr/local/bin/cog
cog --version # should output the cog version number.
8. Run a model in WSL 2#
Finally, make sure it works. Let's try running afiaka87/glid-3-xl locally:
cog run 'r8.im/afiaka87/glid-3-xl' -i prompt="a fresh avocado floating in the water" -o output.json
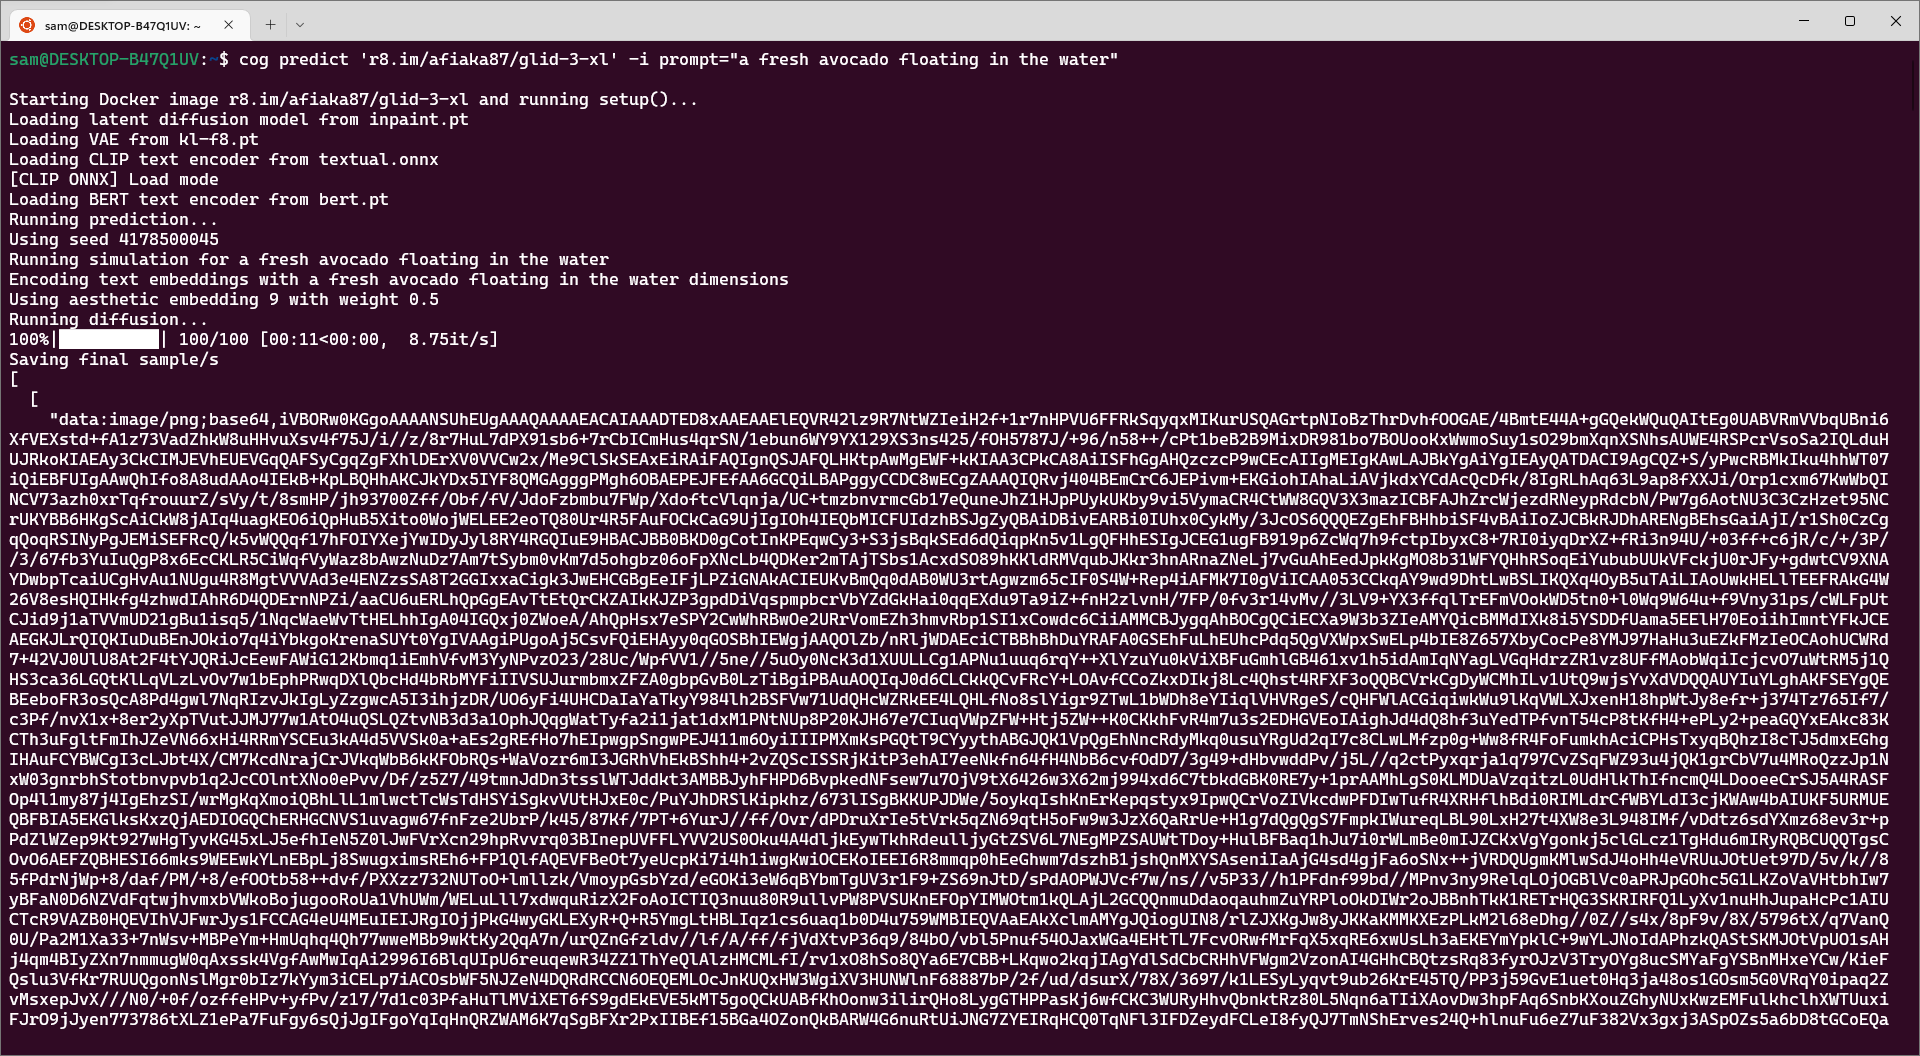
While your run is executing, you can use Task Manager to keep an eye on GPU memory consumption:

This model just barely manages to fit under 8 GB of VRAM.
Notice that output is returned as JSON for this model as it has a complex return type. You will want to convert the base64 string in the json array to an image.
jq can help with this:
sudo apt install jq
The following bash uses jq to grab the first element in our output array and converts it from a base64 string to a png file.
jq -cs '.[0][0][0]' output.json | cut --delimiter "," --field 2 | base64 --ignore-garbage --decode > output.png
When using WSL 2, you can access Windows binaries with the .exe extension. This lets you open photos easily within linux.
explorer.exe output.png

9. References#
- https://docs.nvidia.com/cuda/wsl-user-guide/index.html
- https://developer.nvidia.com/cuda-downloads?target_os=Linux&target_arch=x86_64&Distribution=WSL-Ubuntu&target_version=2.0
- https://www.docker.com/blog/wsl-2-gpu-support-for-docker-desktop-on-nvidia-gpus/
- https://docs.microsoft.com/en-us/windows/wsl/install-manual#step-4---download-the-linux-kernel-update-package
- https://github.com/replicate/cog